


|
To start of our Photoshop component we were introduced to some tools that would eventually help us to create our own CD cover.
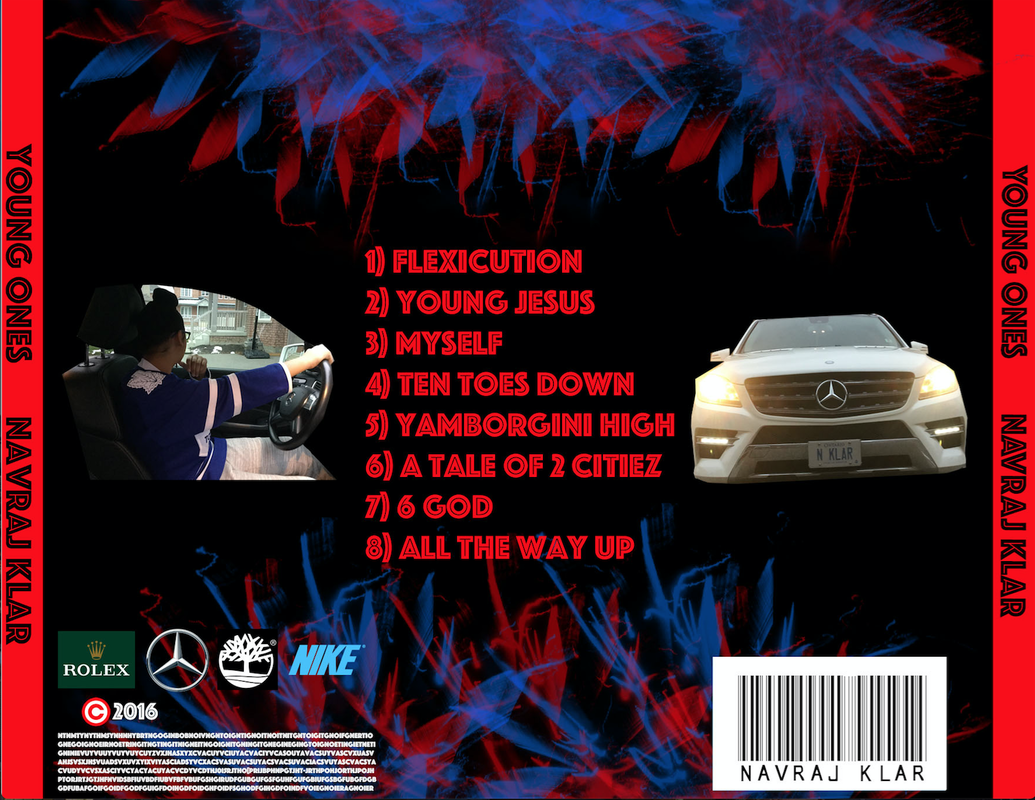
In this picture we had to use a variety of tools. We had to make the mannequin’s foot seem like it was in the water by changing the opacity of the foot particularly. We also had to change the background colour of the sky to make it look like the sun was going down. Next we made the mannequin have a shadow in the water to make it look like it was getting a light shined on it. We had to import the clothes and the basket. For the basket we adjusted it to look like that the basket is actually on the mannequins arm. In this activity the tools that we came across were the colour to transparent tool, the opacity tool, the rotate tool, copy and paste. In this picture we had to use a variety of different things that would make this picture into a chef. We had to take the different things that were provided with and use different tools to move them onto the picture. We had to cut out each individual feature and adjust it on the face to make it perfect. The tools that we were introduced to in this activity were the polygon lasso tool, the rectangle lasso tool, the key selection tool, the rotate tool, adding a new layer, and copy and paste tool. In this picture we had to make the water cover the entire picture and write the word crew at the bottom in our way of interest, and that could have been changing the colour, changing the size, changing the font, etc. The tools that we used to complete this activity were adding text and the paint brush tool. This picture didn’t require a lot to be done. We also made CD covers using photoshop. We had to take photos of our selves as well using different photo taking techniques like low shots or high shots of us. We also used all the tools that we learned while doing practice activities mentioned above. For my Cd cover i learned that you could change your name into a bar code. The pictures at the bottom are my CD cover.
|
|

|
